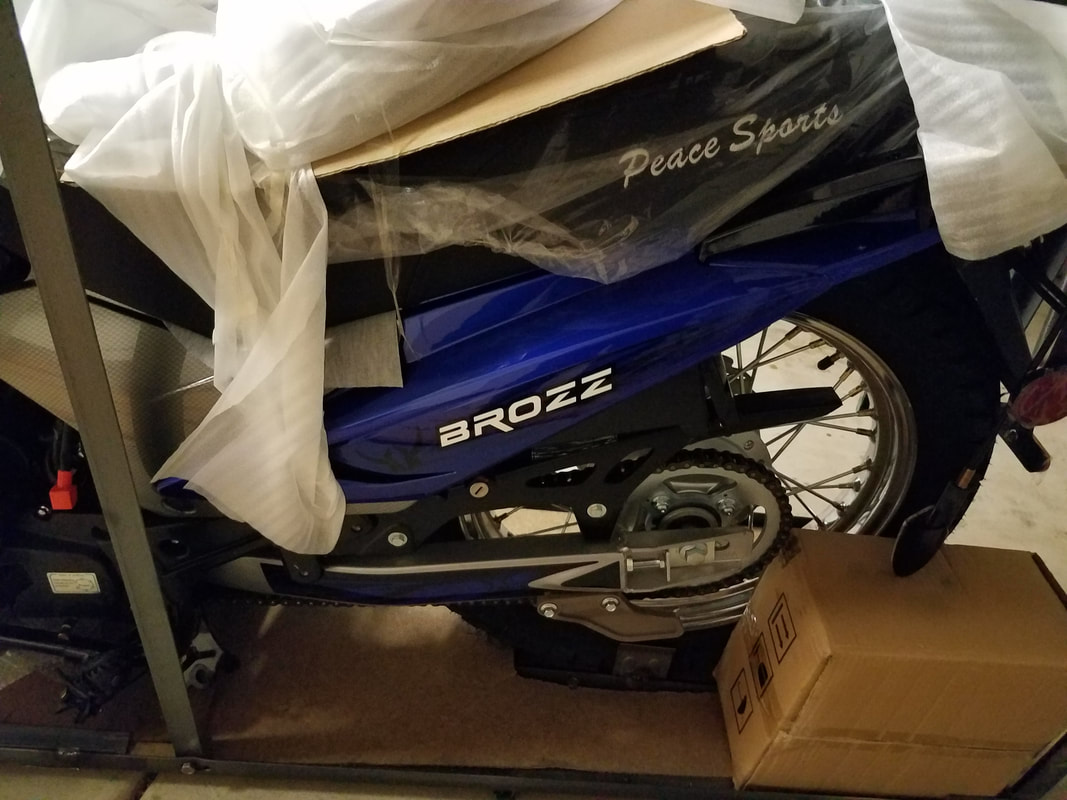
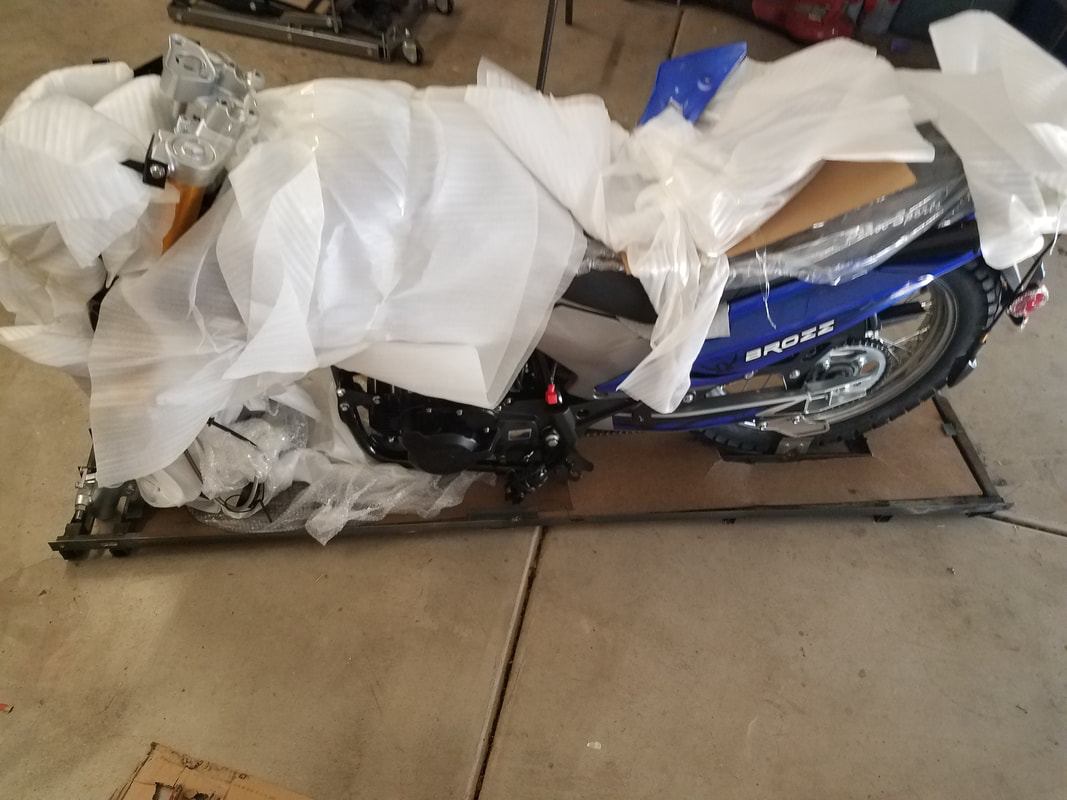
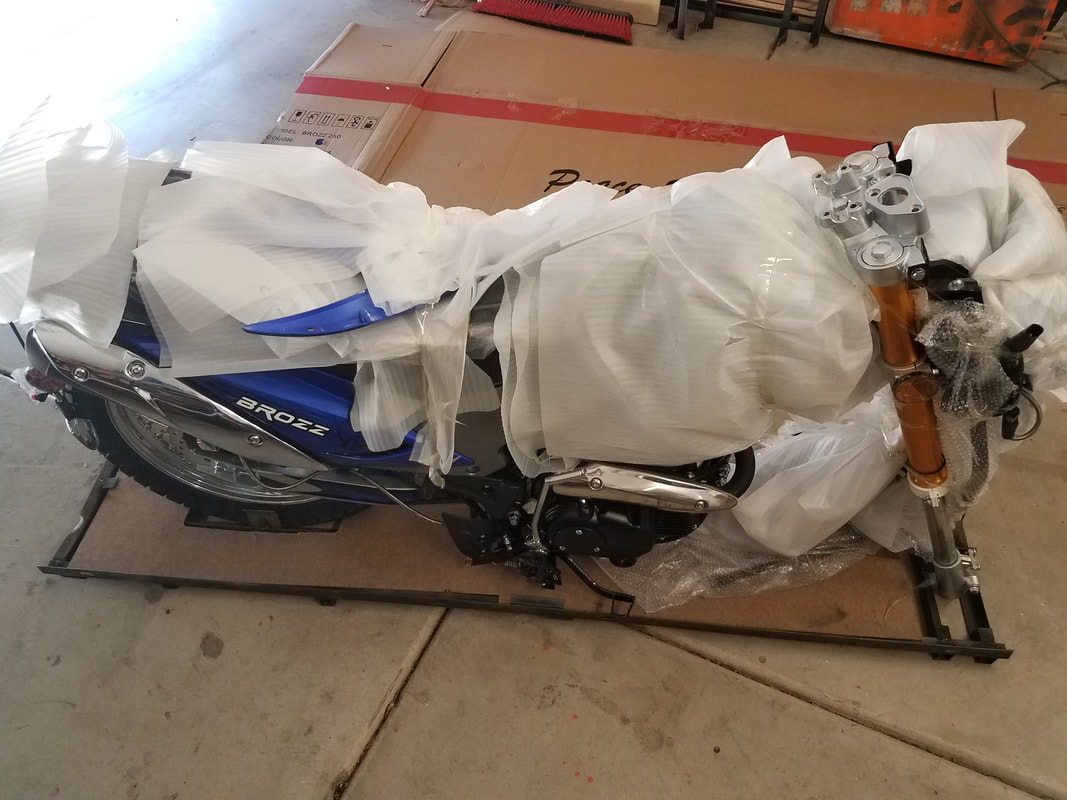
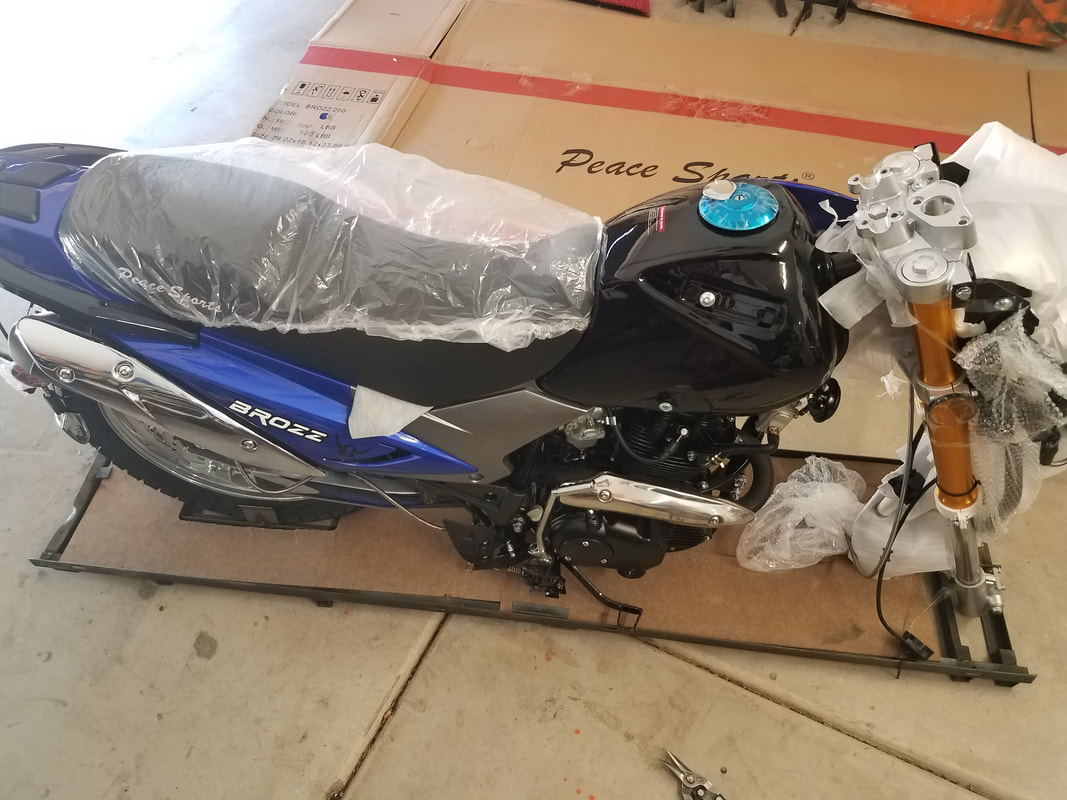
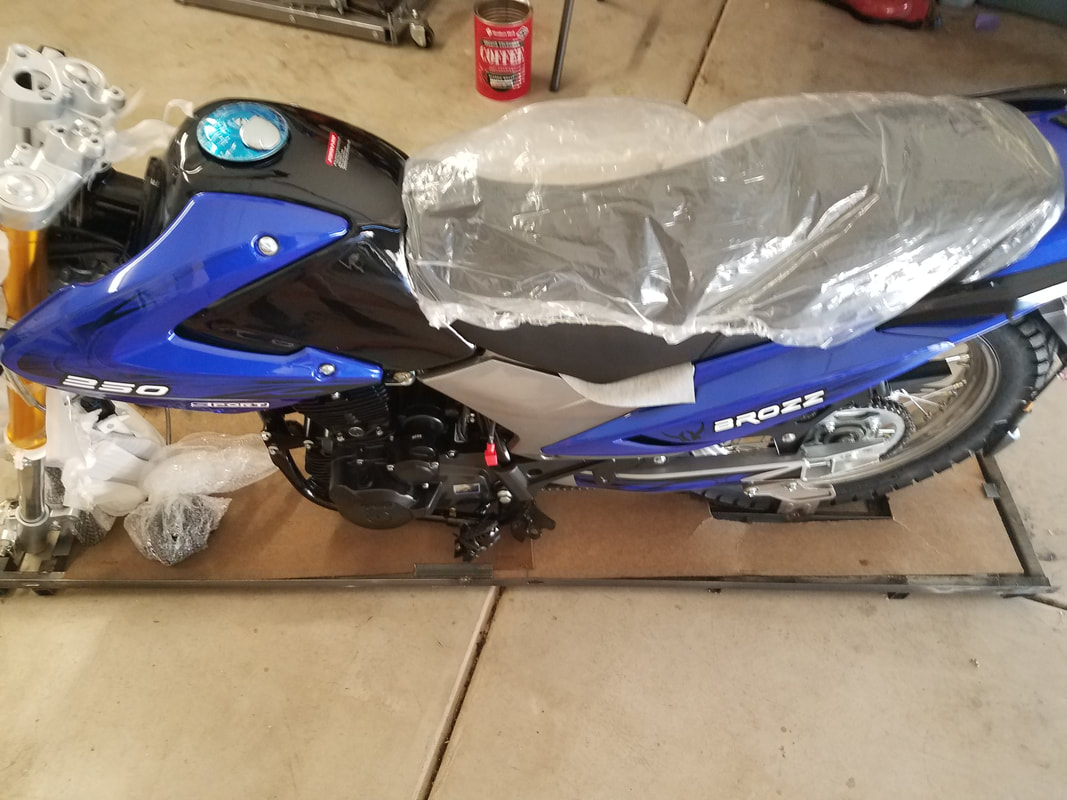
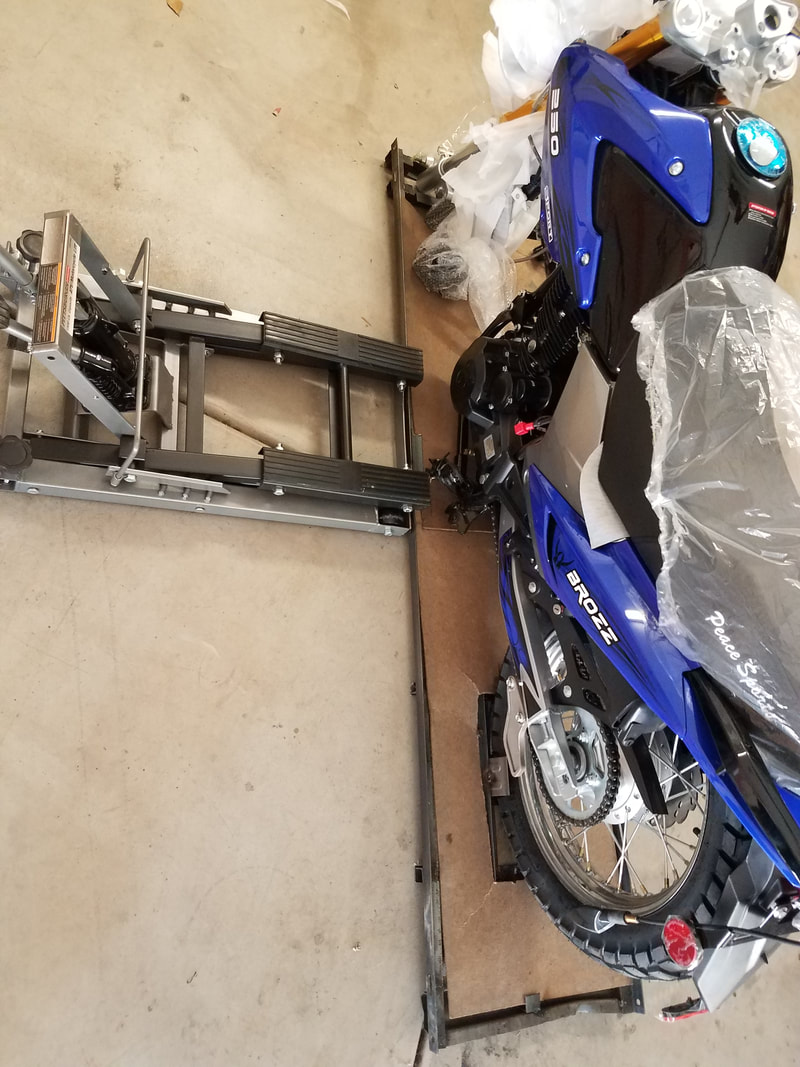
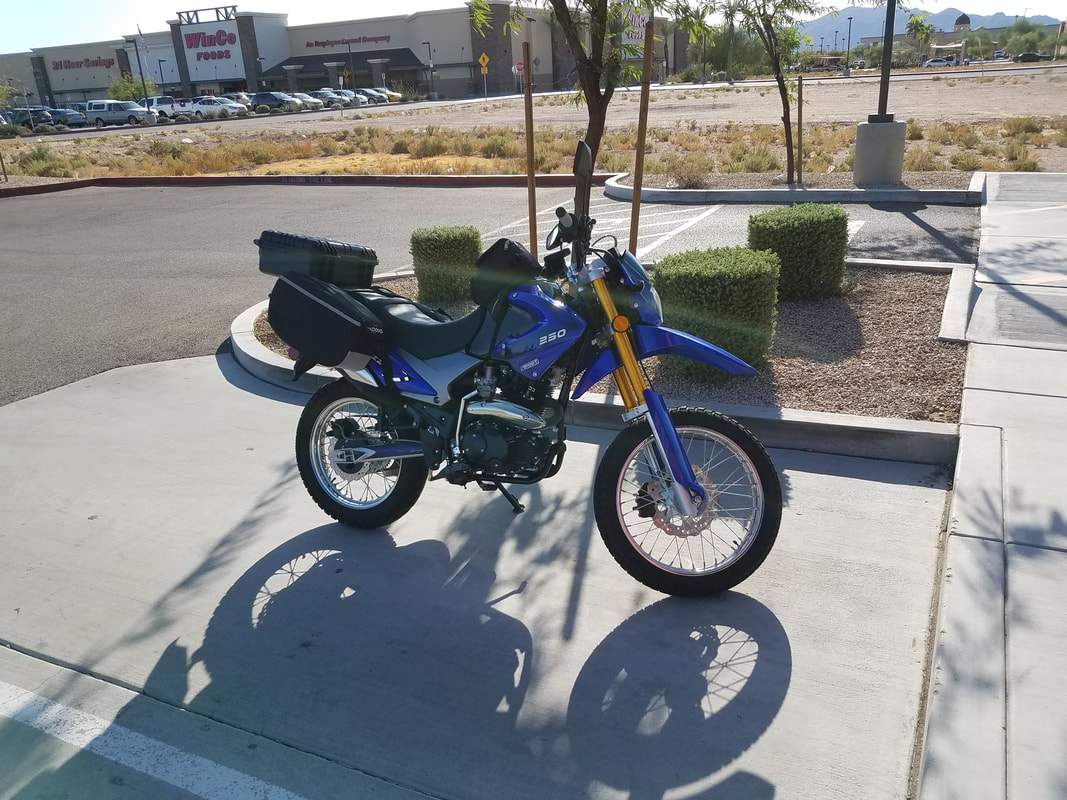
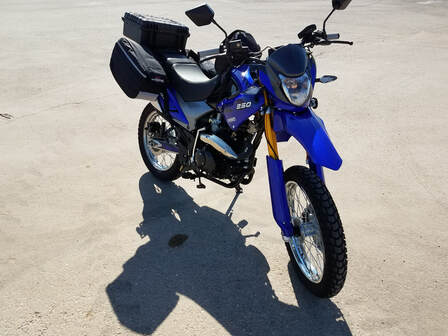
Brozz 250, Hawk 250 Information and Accessories
|
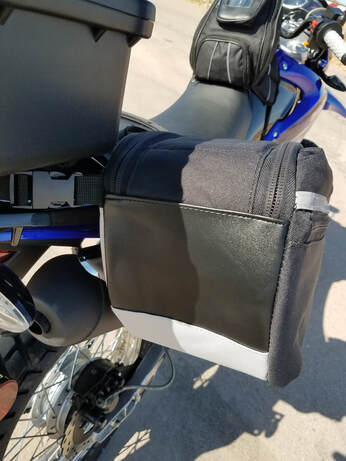
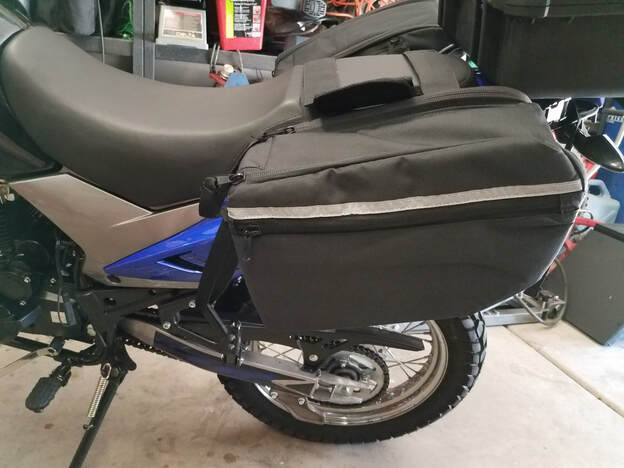
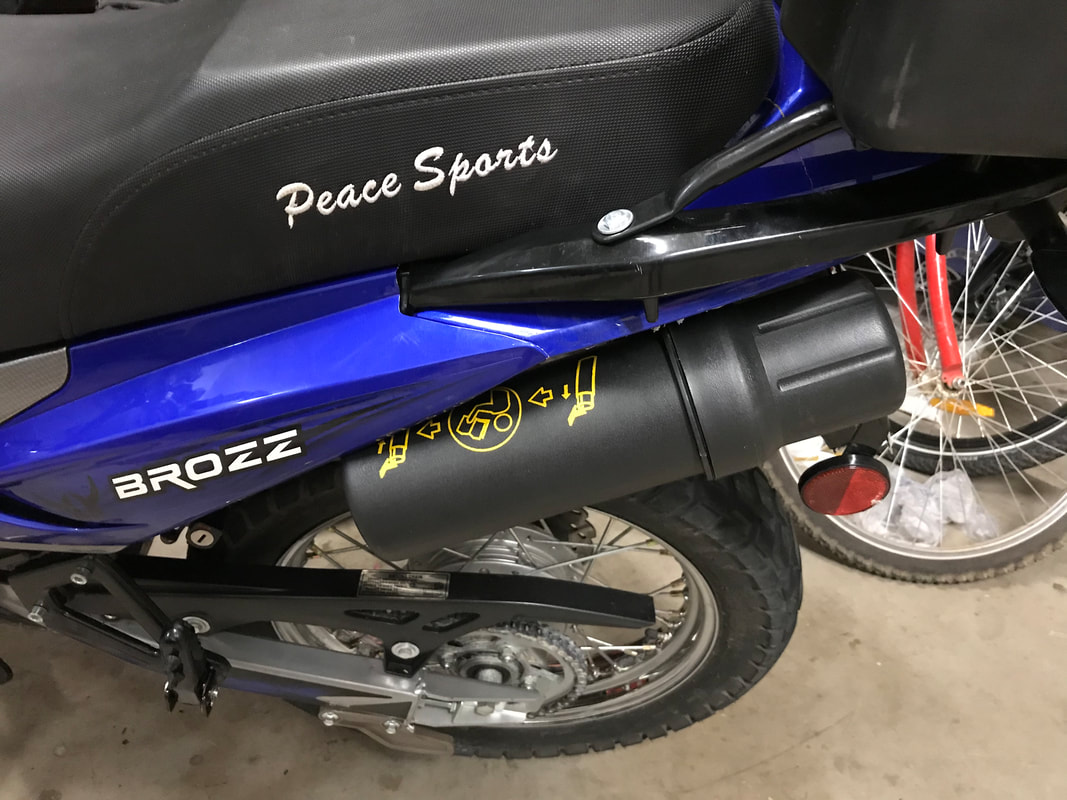
These Pannier bags fit great on the Brozz 250! They give that extra storage room needed for cold weather gear like coats and pants. They have a built in weather cover when its under rainy conditions. Clears the pipe just fine.
|
|
|
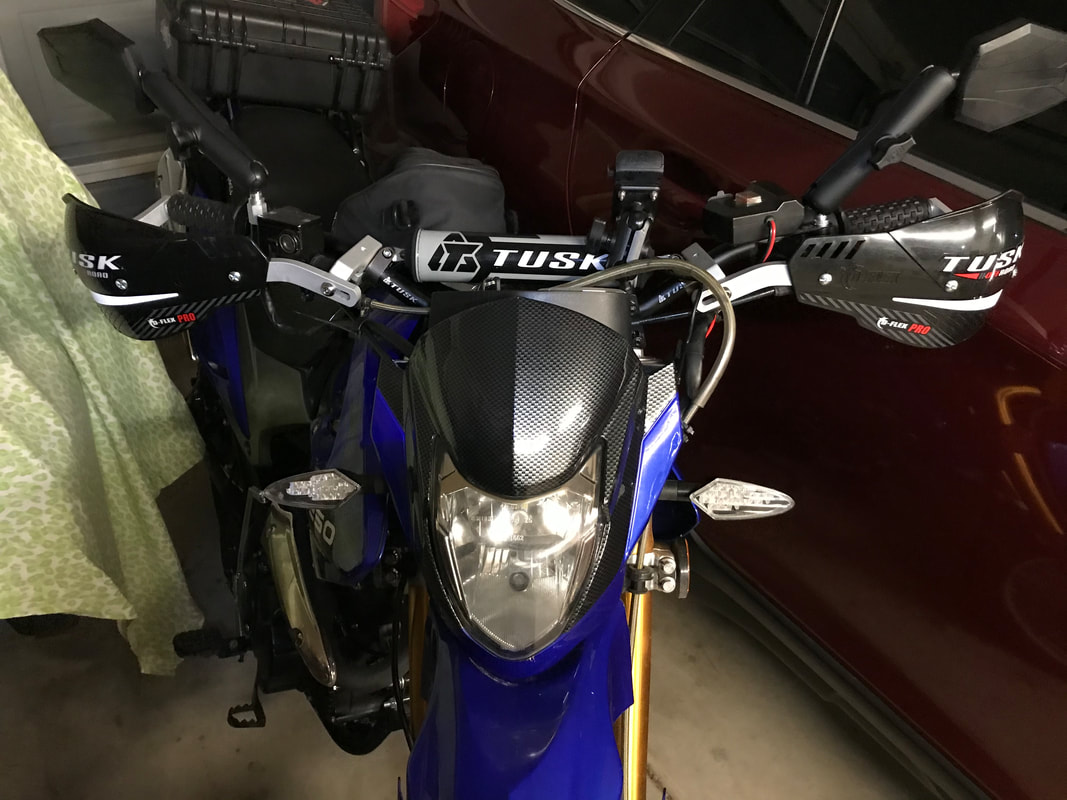
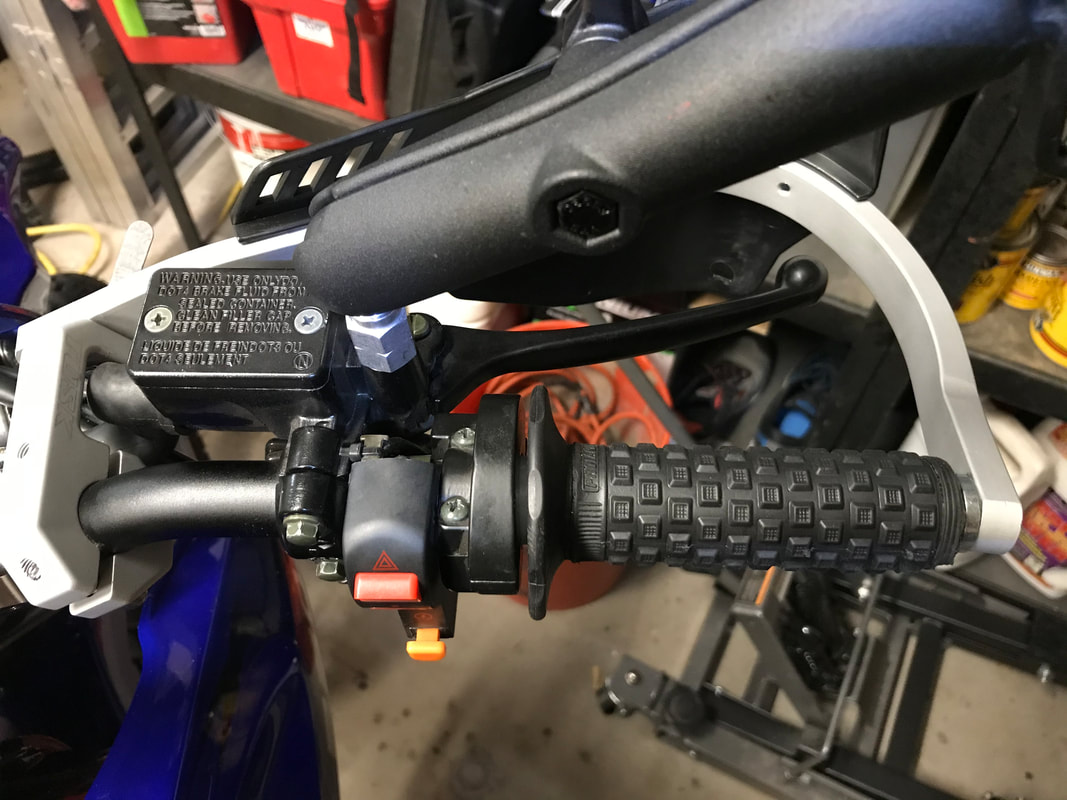
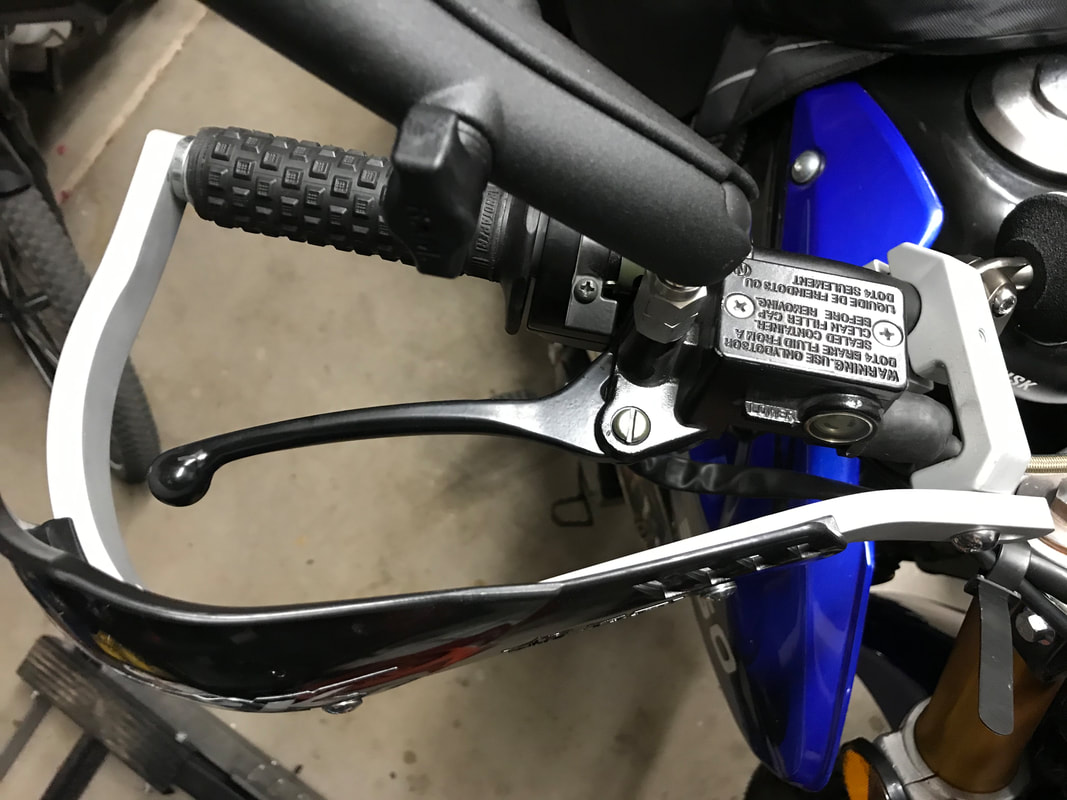
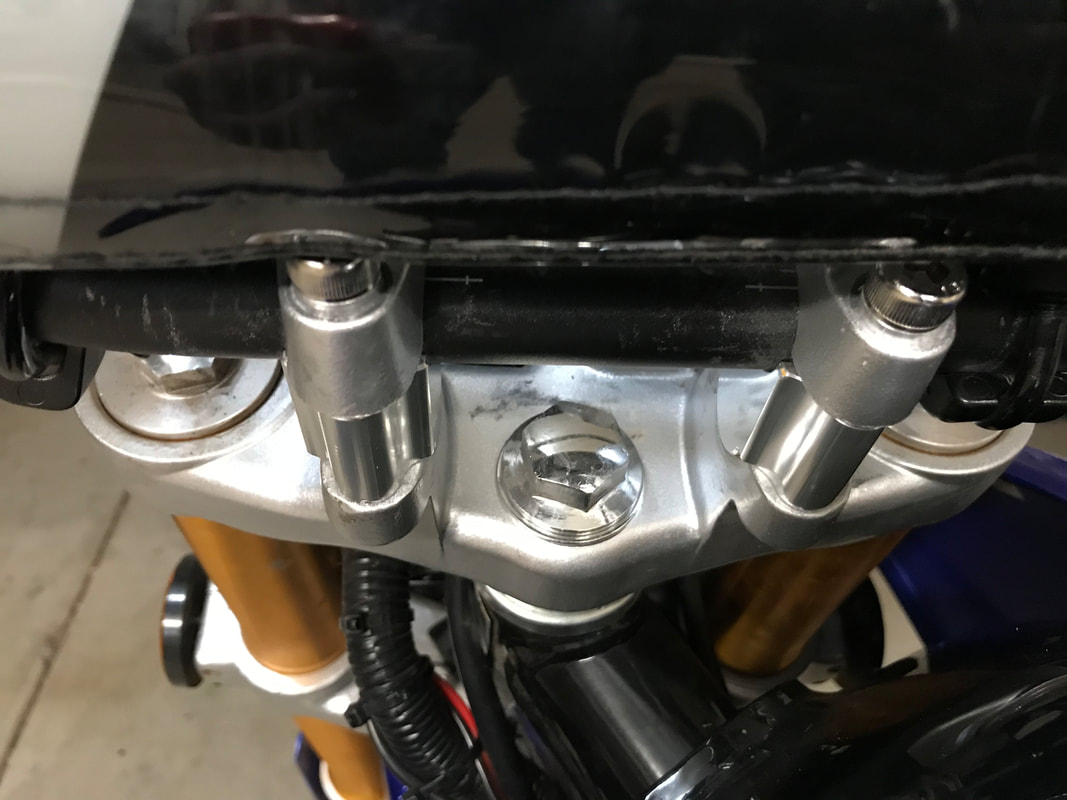
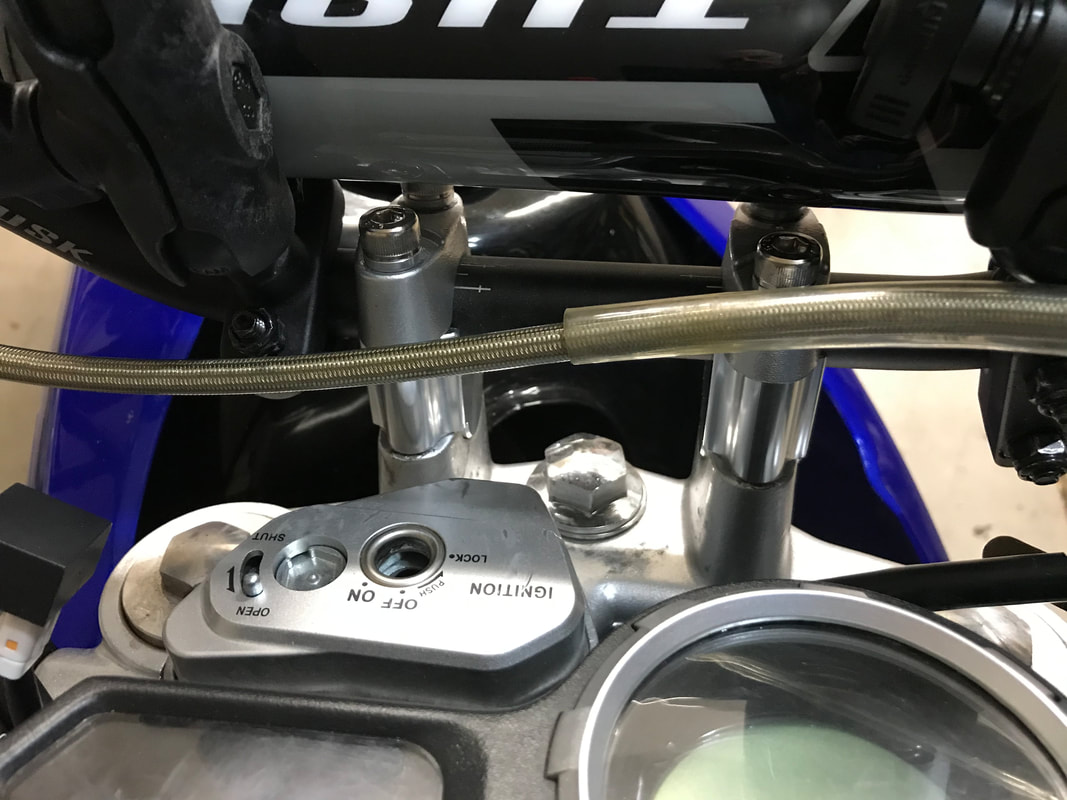
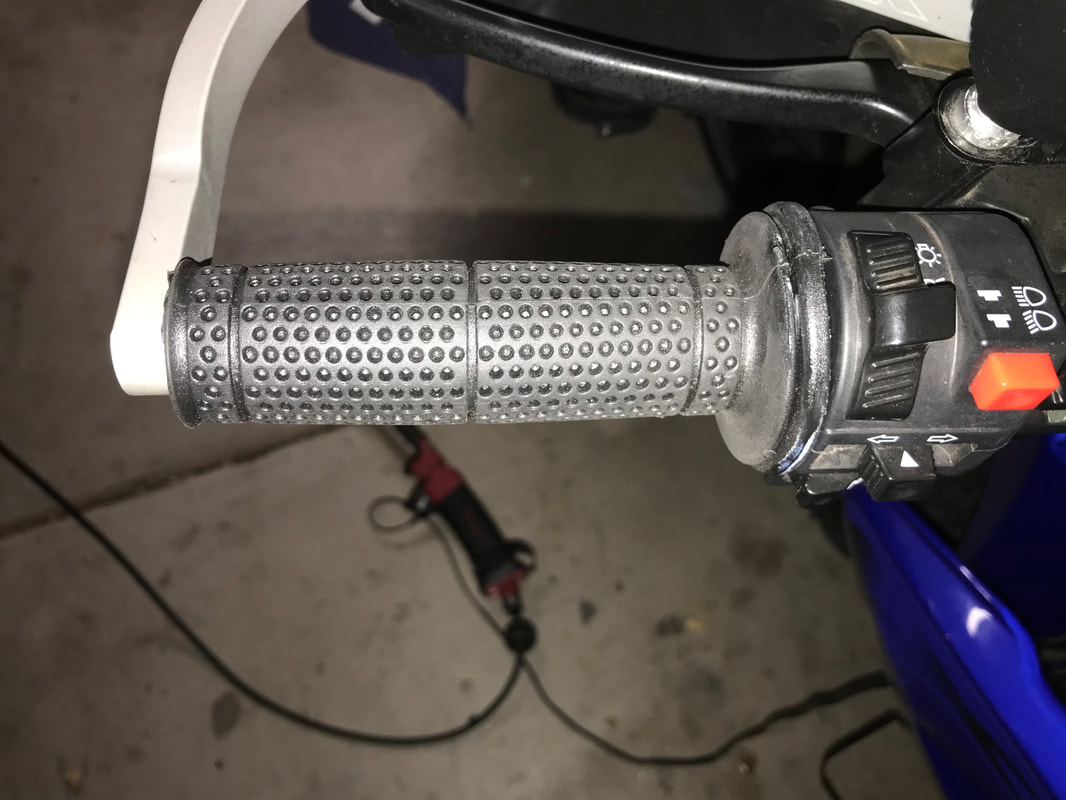
I changed out the handle bars to a KX high bend Tusk handlebar 7/8 diameter I also added the Tusk crash guards to help protect the clutch lever and brake lever and brush wack from riding tight trails. The handlebars along with the crash guards fit well on the Brozz 250. These bars are a popular fit for the Honda XR250. Yet, it fits the Brozz with good results. The only things to consider is the turn signal/ headlight/horn control has a small pin that needs a hold in the new bars so the controls don't rotate. Easy to drill a small hole in the new bars to fix. The old bars had the small hole. The emergency push button switch also needed a small hole, but I just bent the tab out on that one to make it all work out. The KX high bend handle bars are a bit longer than some at 32 1/4 long. But, all the wiring still had no problem mounting to these new bars. I also added the mirrors which are way expensive, but I like them allot. I inverted the brackets so they would clear the brake line connection. I also added the Tusk 30mm risers to raise my bars of for when I stand up on the foot pegs for a more comfortable stance. Mounting the risers was no problem with the brake line and clutch cable. There was enough cable length to do the new height of the bars! I changed out the grips to the Pro Grips shown below and wow they are better than others that I have tried that reduce vibration! They also fit good if you have the hand guards.
|
|
|
|
|
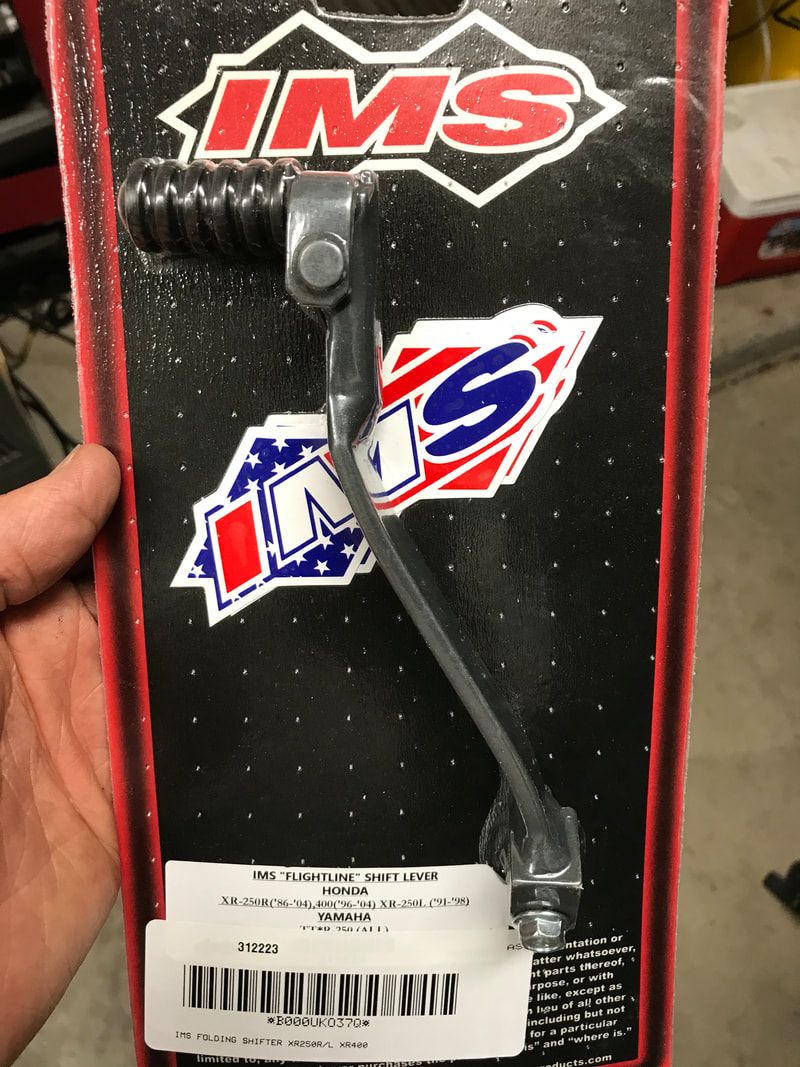
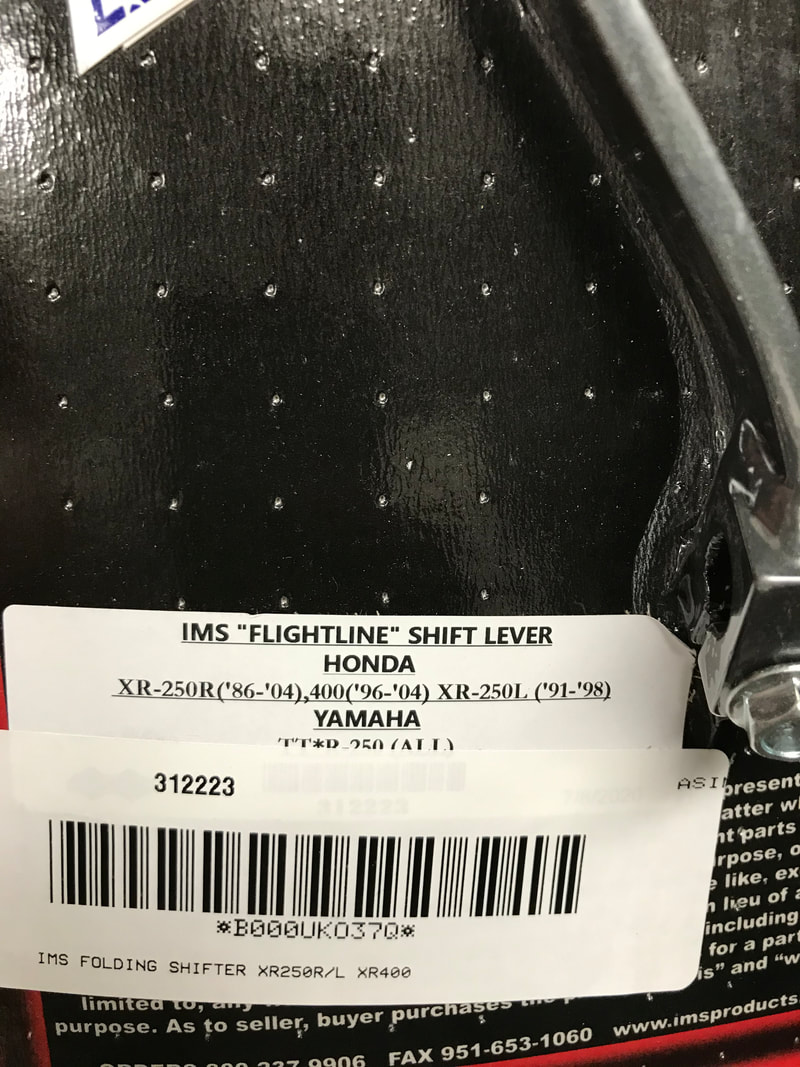
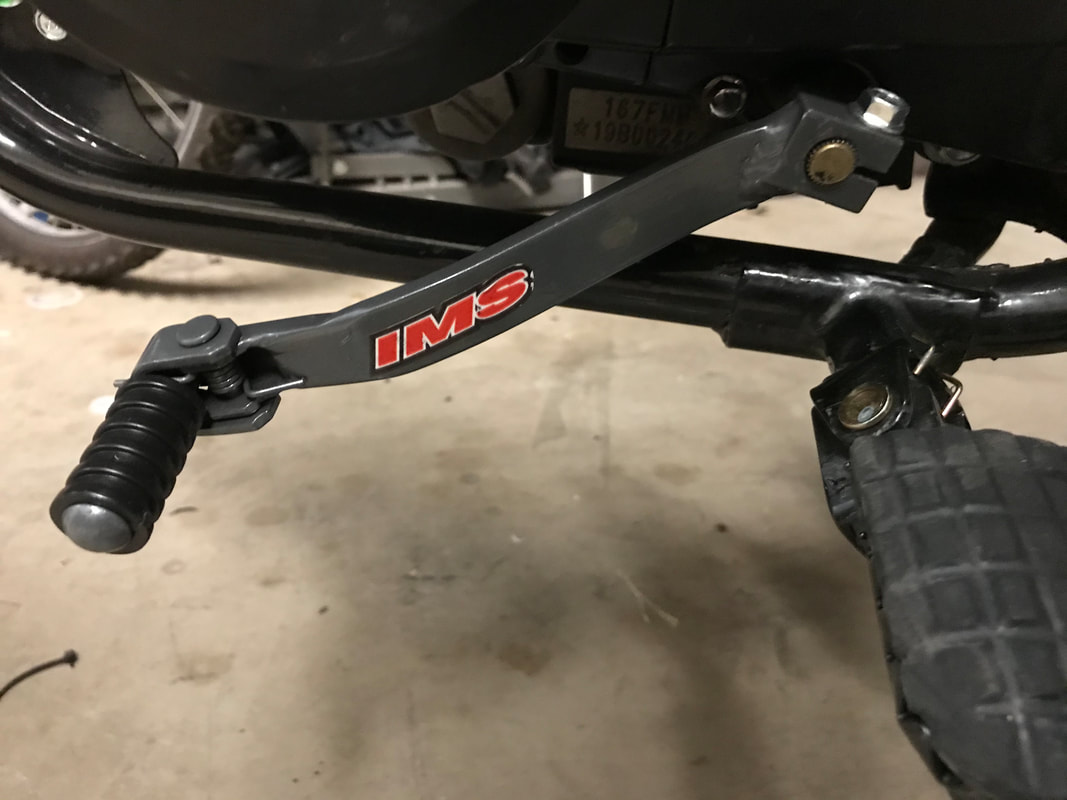
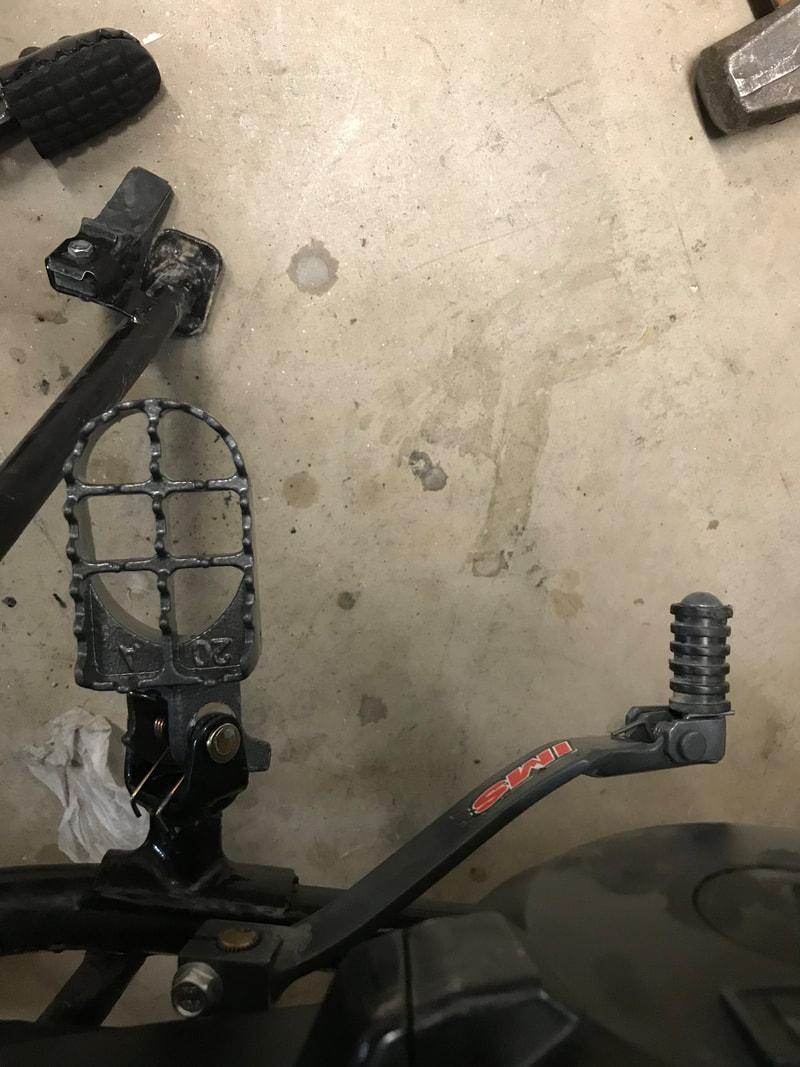
I also added the IMS shifter which is a little bit longer throw and the end peg folds up upon impact. Works better for my big boots while riding and shifting. The mounting bolt on this shifter was no issue for me. Shifter listed to fit a Honda XR250 but fits the Brozz ok.
|
Replacement chain I'ved used on the Hawk 250
|
|
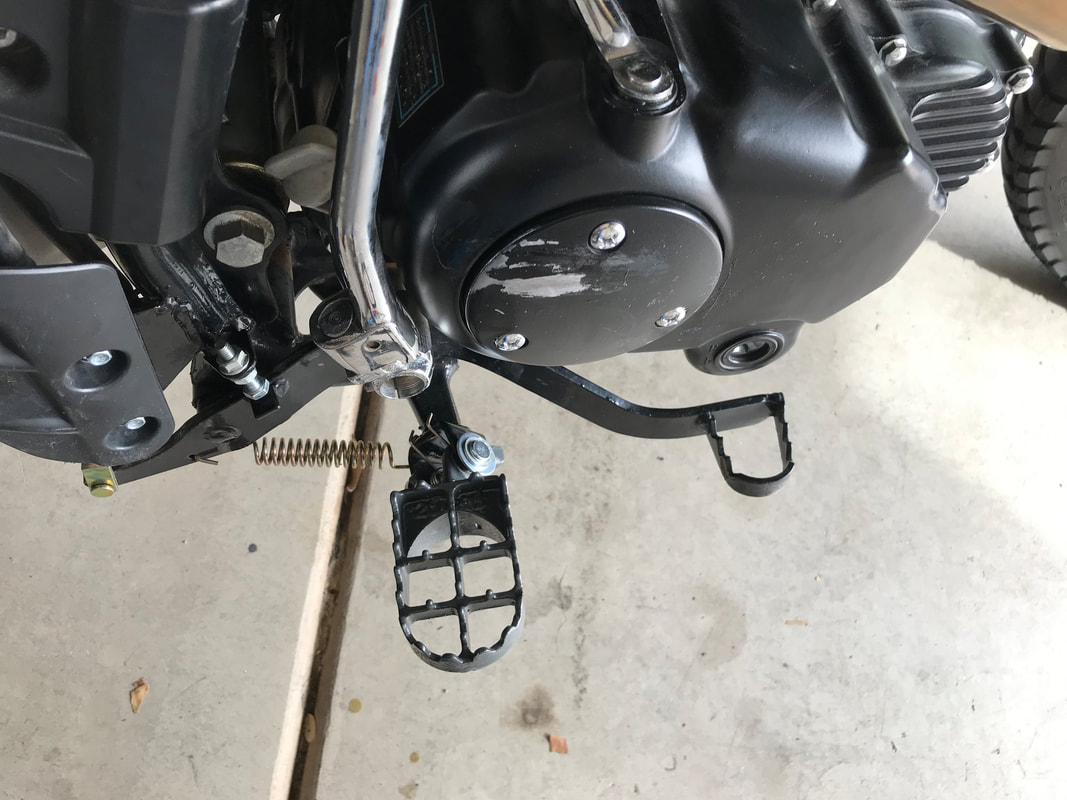
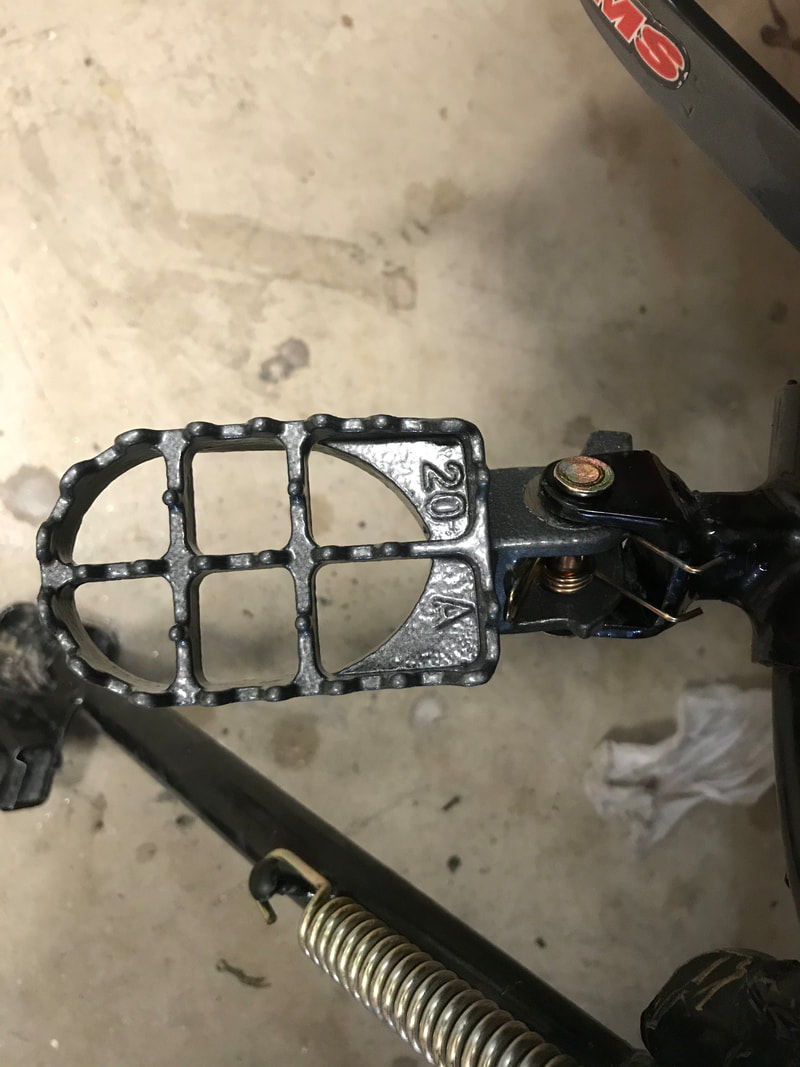
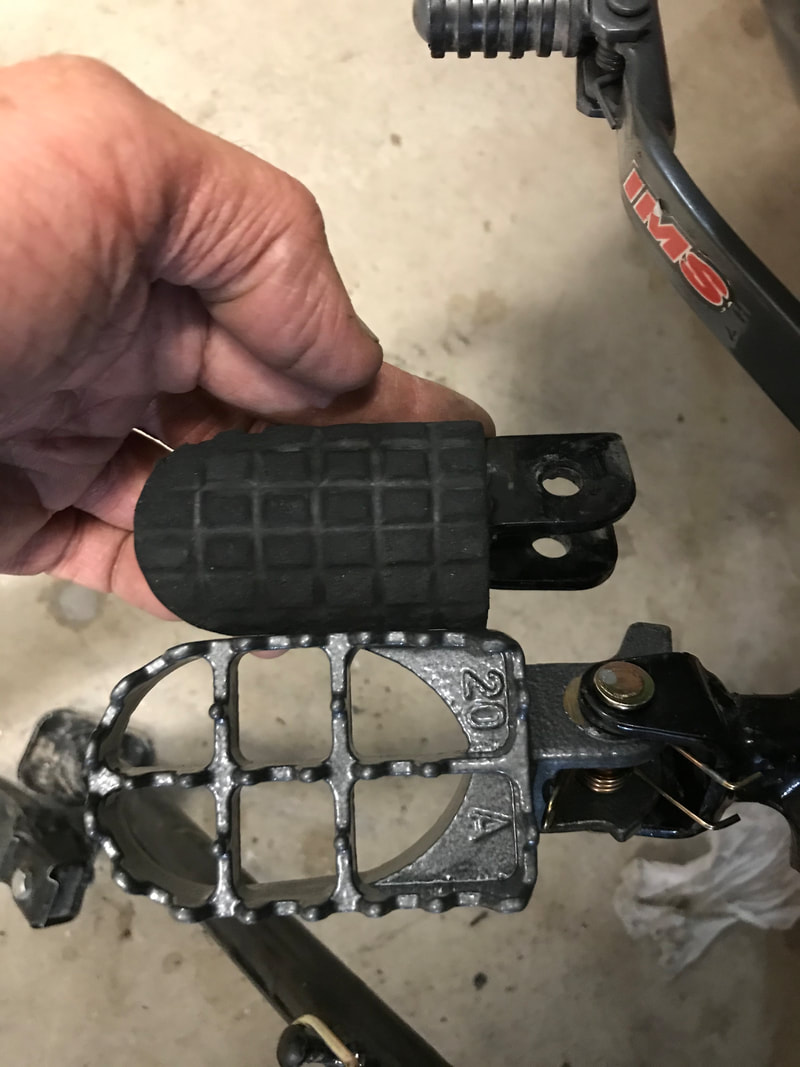
These foot pegs are not an exact fit, but will fit with some slight modification. I like the bigger foot print grip!
|
|
|
|
|
|
|
|
|
|
Brozz 250 Speedo Correction
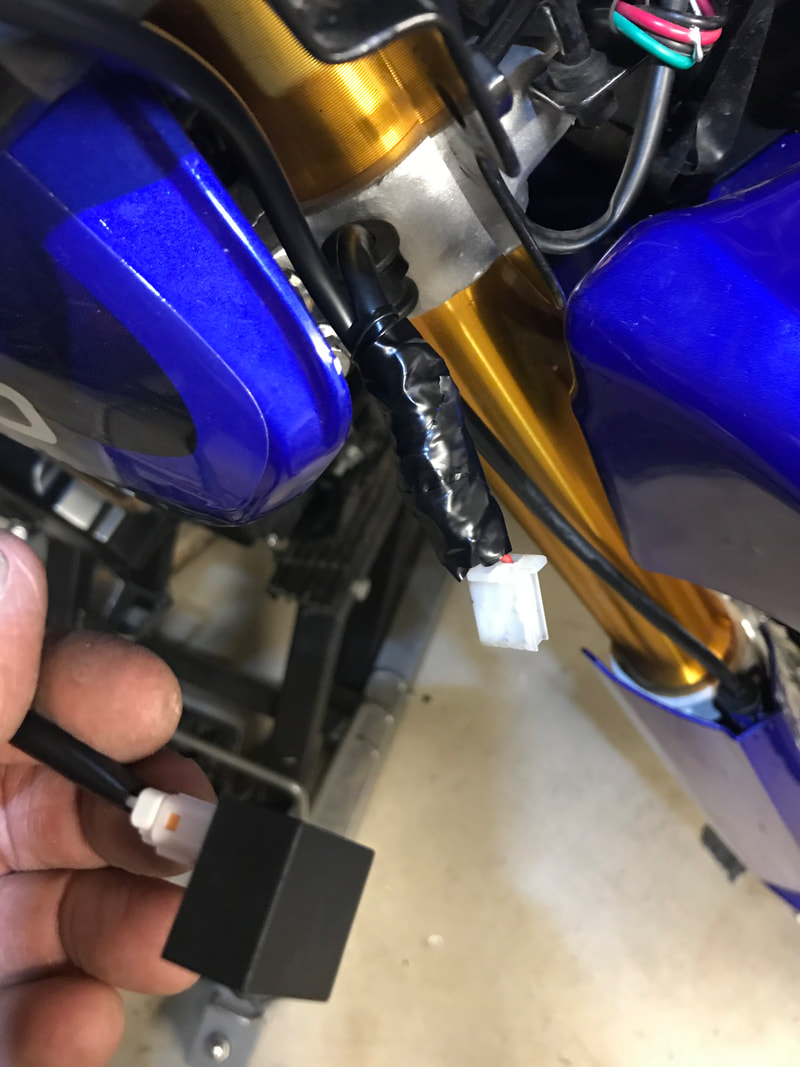
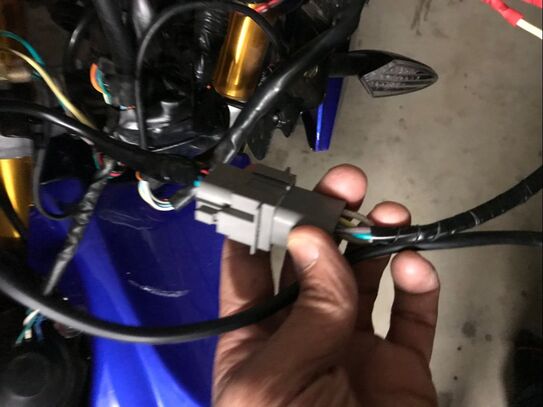
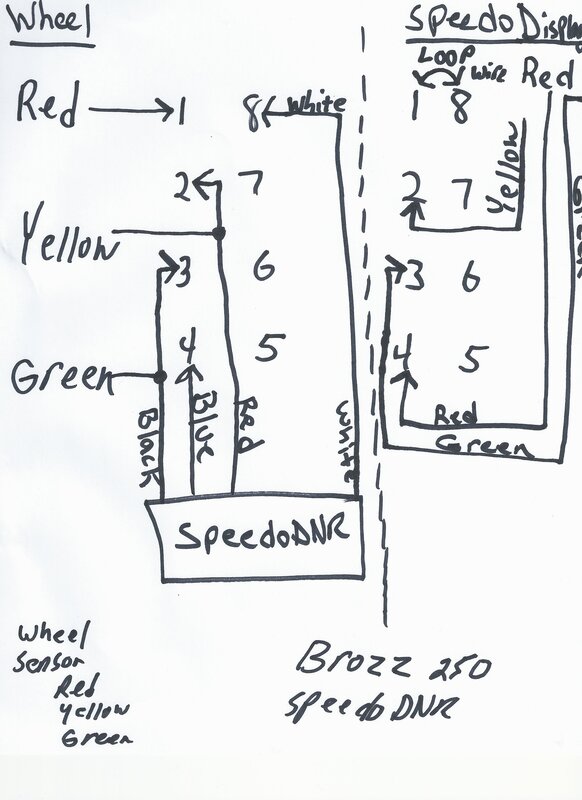
Like other brands of Bikes, the speedo can be off and can be corrected with this very small electronic device that connects inline of the signal that's coming from the wheel sensor that sending the signal to the digital display. The Brozz 250 wheel sensor has three wires that are red, green and yellow. The green is ground, the yellow is the positive and the red is the sensor signal wire. There is currently not a SpeedoDRD kit available for the Brozz 250 that already has the correct wire connectors for easy plug and play setup. Just purchase the SpeedoDRD and clip off the connectors and hard wire it the the three wires on the Brozz wheel signal sensor lead that plugs into the digital display. This SpeedoDRD will accurately give you mph accuracy to a known GPS signal you receive while driving. Very fine percentage adjustments can be made during the programming. Programming is not lost when turning the power off. I was able to wire up the SpeedoDRD to one side of the connecting plug of the wheel signal sensor side which allows later to unplug connections to the digital display easily.
|
|
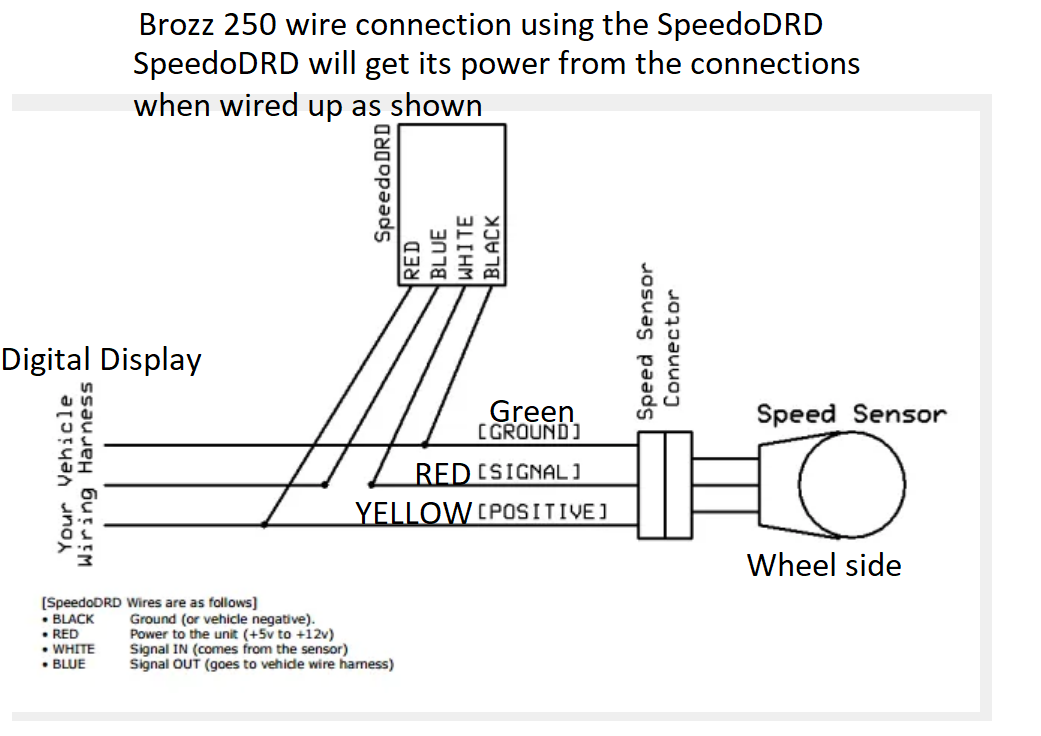
For more of a professional wire connection, use these automotive style connectors and crimp tool and build a unpluggable wire set.
Use the Open barrel terminal crimper for this kit. Crimper on the right.
|
|
|
For this kit, use the crimper on the lower left for closed barrel wire connections.
|
|
|
I used the Glarks 4 pin from the set above to make up the new wire harness for the SpeedoDRD
and the Brozz 250. Secure connections now using these automotive connectors.
Using the numbering on the wire connector harness I was able to draw up the wire schematic .
I purchased wire from Walmart in the automotive dept. It's a four wire strand used for trailer s. The colors are yellow, green, brown. During my wire harness setup, I noted that the brown wire would connect to the red wire on the Brozz wheel sensor and the speedo display on the bike. When making the wire harness, don't forget to connect a loop wire on connecting pins 1 and 8 on the one half of the connecting plug as shown in my diagram. For the connections of two wires to one pin . I easily inserted two wires into the pin then crimped them down together as shown in my diagram. Connecting pins 2 and 3.
I After Market Battery for the Brozz 250.
The Weize YT7B-BS
I researched and found two batteries that sort of fit into the Brozz 250 battery cage. Both are a little bit deeper that OEM by 1/4 inch. I went with the one that is the same width as the OEM but not as tall. With some slight modifications to the Brozz 250 battery cage, I was able to fit the after market battery really well. The bike starts up strong again. My original Brozz battery cage was not exactly square on one end. That's when the welder came in handy. You may not have that problem. But, even without a welder I could have just cut the metal with tin snips where I welded and left it at that. I think it would have been ok without the weld. But since i have a welder, I did the fix up tight. The OEM battery cage is a little bit taller for this new battery. So, I used tin snips to trim down the front of the cage down to the strap connector. So, I could connect the power leads easier. Link to buy is below. I also have a video link of this battery fit.
BROZZ 250 TIRES and TUBES
BROZZ TIRES
The Brozz 250 tires are:
Front 90/90/19
Rear 110/90/17
The Brozz 250 tires are:
Front 90/90/19
Rear 110/90/17
|
|
|
|
|
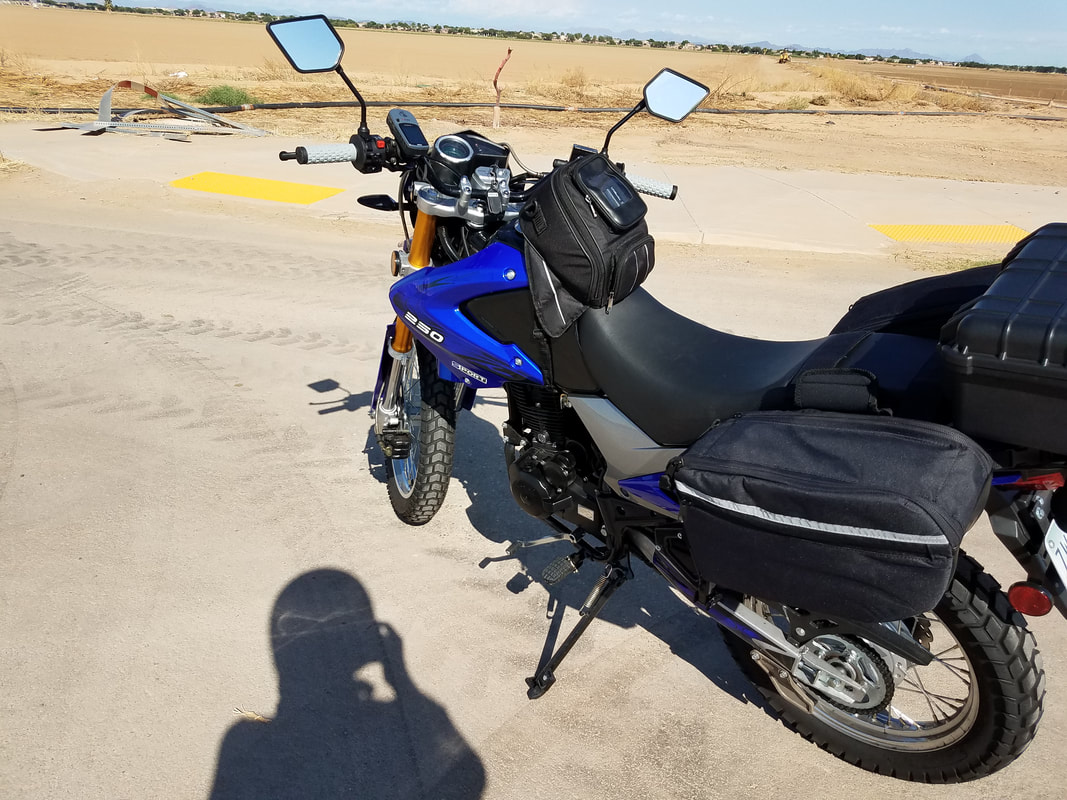
This small magnetic bag fits really well on the gas tank of the Brozz 250. Will also fit other 250 China bikes like the Hawk 250. The magnetic grip is very stong and it comes with a secondary web strap to go under the frame of the bike for really secure mounting. I've own two of these on my bikes and they come in handy. There big enough inside to fit a wind breaker, sunglasses, documents, pens and paper.
|
|
|
|
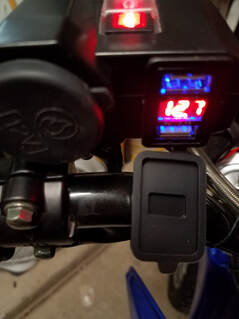
The Moto Dual USB works very well on the mirror stud mount on the handle bars. The switch shuts the cig and the usb/volt display off and on when needed. The volt reading was pretty accurate to my meter test of .1 volt.
|
|
|
|
|
The unofficial Hawk Motorcycle Jacket. But, it is a Hawk jacket! I wear the large and it fits great! I have long arms and these sleeves on this jacket are longer than others I have tried on.
|
|
|
This bulb is definitely brighter than the stock Halogen and uses half the watts of the stock bulb. They rate it at about 30,000 hours.
|
|
|
The preferred plug to upgrade is this NGK non resistor plug. The OEM plug is fine. When its time to change it out, get this NGK. Fits the 250 Brozz and Hawk 250.
|
|
|
On the Hawk 250, I installed this K&N washable filter. Its fits pretty well in the OEM air box and the Brozz air box is similar. Use the spray cleaner to wash the filter when dirty.
|
|
|
|
I had this tube mounted on the Hawk 250 and now on the new Brozz 250. It can be mounted on the left rear end of the bike. Opposite of the muffler. Additional bracket work is required. The tube is great for storing the paper registration and medical gear.
|
|
LED Aux Lights
These lights from Amazon have done really well for me. They definitely add more brightness to the road. They don't project as far out as my LED main headlamp, but I could if needed run these lights if my main headlamp burned out. I've got them angled down so not to bother on coming traffic. Super buy and includes wiring! I did change out the switch so it could be mounted to the handle bar. These easily mounted to my existing brush guards from Tusk. The wiring from the switch came with three wires. Connect the black wire rom the switch to the blue wire of the light wire harness and connect the brown wire of the switch to the black wire of the light wire harness and connect the blue wire of the switch to the white wire of the light harness. The light wire harness of the switch is also a three wire connection. Granted, wire colors could change, but thats what i was working with on mine.
These lights from Amazon have done really well for me. They definitely add more brightness to the road. They don't project as far out as my LED main headlamp, but I could if needed run these lights if my main headlamp burned out. I've got them angled down so not to bother on coming traffic. Super buy and includes wiring! I did change out the switch so it could be mounted to the handle bar. These easily mounted to my existing brush guards from Tusk. The wiring from the switch came with three wires. Connect the black wire rom the switch to the blue wire of the light wire harness and connect the brown wire of the switch to the black wire of the light wire harness and connect the blue wire of the switch to the white wire of the light harness. The light wire harness of the switch is also a three wire connection. Granted, wire colors could change, but thats what i was working with on mine.
|

|
|
|
|
|
The Hawk is very similar to the Brozz 250. Here are the differences. the Brozz uses a counter balanced engine, the Hawk does not. The hawk is geared towards more off road riding due to the tires and sprocket use. The tires on the Hawk are larger with rim sizes. The tires and sprockets can be changed out for more adaptive street use if desired. The Hawk is a good value vs the cost of the Brozz 250 currently at 1,750 delivered as of 2019 models. The Hawk will get you in the door so to speak with a bike you can customize along the way If you want. The Brozz is already setup for street.
|
|
My previous Hawk 250. Sprockets changed, tires changed,
CR250 exhaust added, Carb changed and re-jetted. Bike was very reliable. 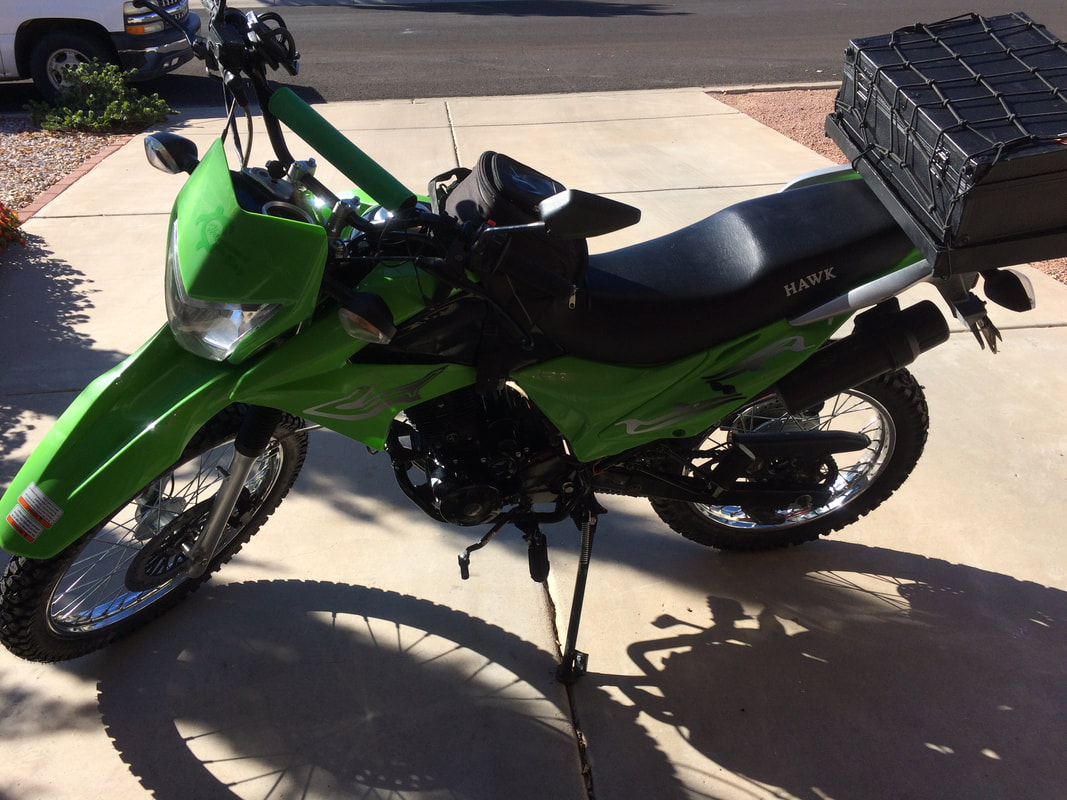
|
